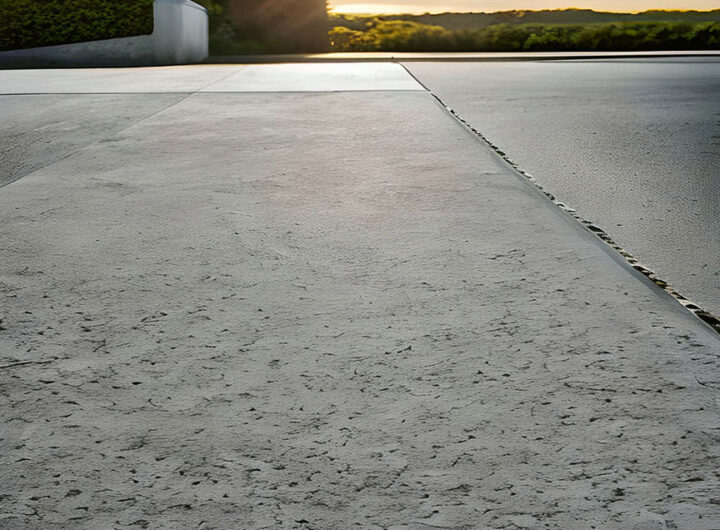
An Object of Unapparelled Beauty
The typical walk maker form measures 2ft x 2ft x 2in with each section requiring one 80-lb. bag of premixed concrete. With a little inspiration you will become quickly skilled in this process. You might even consider adding a curve or attempt to make the finish more customized by adding some colorant.
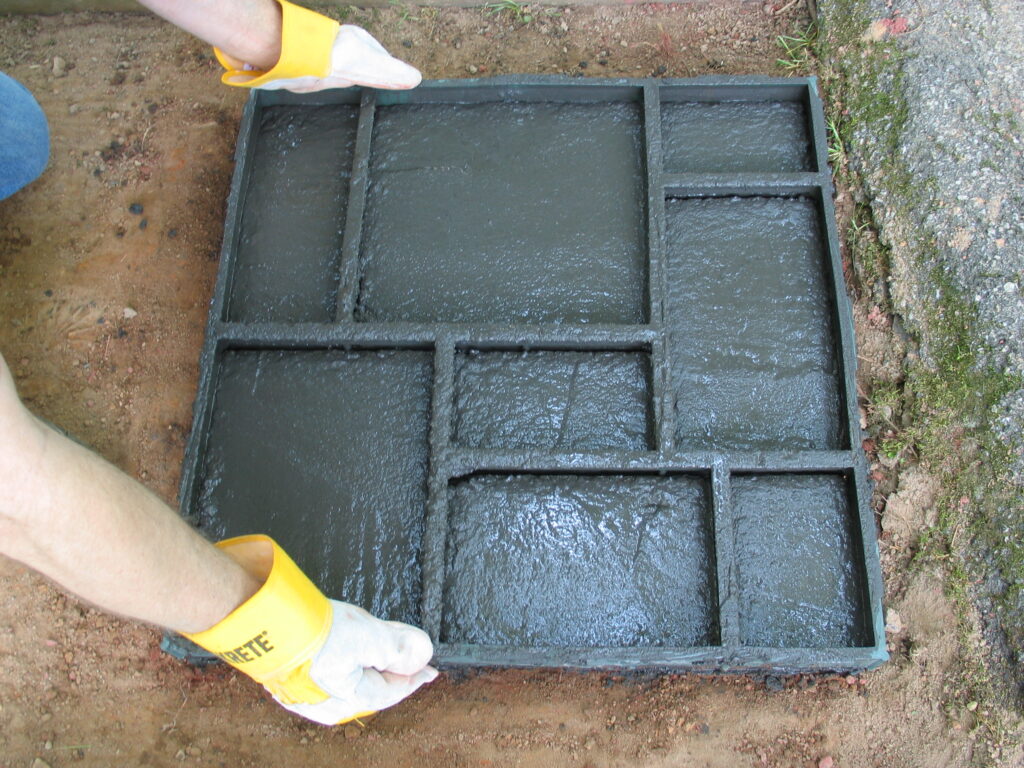
Concrete walk maker forms are truly a breeze to use and understand with these simple steps:
- Mark out your pathway.
- Mix the concrete.
- Set the form in place.
- Fill the form with concrete.
- Remove the form.
- Use a concrete trowel to smooth the surface edges.
- Prepare the next 2ft section.
Once the walk maker form is removed you can revel in the amazement of your design. Some classic designs are shown below.

• Create brick patterned paths, patios, courtyards, etc.
High-End Look for Less
Walk maker forms are an easy and affordable way of turning a walk, trail or footpath into an object of unprecedented beauty. These forms help create a pathway that gives you a natural stone or brick look. Optionally, you could use actual brick or stone to construct your walk – but why? The large variety of these materials are expensive, difficult to work with and often a pain to install properly. Using prefab walk maker form your walk or pathway will easily stand the test of time while giving you the exact same look and feel as those expensive materials.


Exquisitely Designed and Made by You
You can modify the beauty and elegance of your walk or pathway with the use of colorant. Most often found in paint or stain, colorant are tiny pigments that can give concrete a look of its very own. Another option is a translucent, penetrating or concrete etching stain that can be applied once the product is dried and cured.


Estimating Concrete for Your Project
For Basket Weave Brick, Running Bond Brick, and European Block Brick Pattern(s)
| length of walk | # of poured sections | # of 80-lb bags of concrete | # of 60-lb bags of concrete |
|---|---|---|---|
| 2 ft | 1 | 1 | 2 |
| 4 ft | 2 | 2 | 3 |
| 6 ft | 3 | 3 | 4 |
| 10 ft | 6 | 5 | 7 |
| 16 ft | 8 | 8 | 11 |
| 24 ft | 12 | 12 | 16 |
| 30 ft | 15 | 15 | 20 |
For Country Stone Pattern (interlocks so each section is approximately 1-ft. 9-in.)
| length of walk | # of poured sections | # of 80-lb bags of concrete | # of 60-lb bags of concrete |
|---|---|---|---|
| 2 ft | 1 | 1 | 2 |
| 4 ft | 2 | 2 | 3 |
| 5 ft 6 in | 3 | 3 | 4 |
| 9 ft | 5 | 5 | 7 |
| 16 ft | 9 | 9 | 12 |
| 23 ft | 13 | 13 | 18 |
| 30 ft | 17 | 17 | 23 |
PRO TIP: Use Quikrete Poweroc jointing and in place of play sand to simulate mortar joints. Sweep the polymer-modified sand into the joints then mist with water, and Powerloc will harden in place.
Coloring the Cement
Quikrete Liquid Cement gives molded concrete a more natural looking finish and is great for blending your path or walkway into your landscape design.

Adding Liquid Cement colorant to the concrete mix is the easiest method and produces the most consistent results.
Tools Checklist
Some common tools to have on hand for the project:
- wheelbarrow or mixing box
- shovel
- level
- margin or finishing trowel
- concrete mix
- liquid cement color
- plastic sheeting
- polymer-modified jointing sand
- pea gravel

How to Build a Walkway using Walk Maker Forms
Summary
You can also create a custom surface finish simply by pressing pea gravel or small stones into the wet cement or by simply brushing on a layer of sand. Walkway joints can easily be enhanced with sand or mortar mix to help mimic the look of hand-laid stone or brick.
Be your own creative department. Who knows what you may dream up.